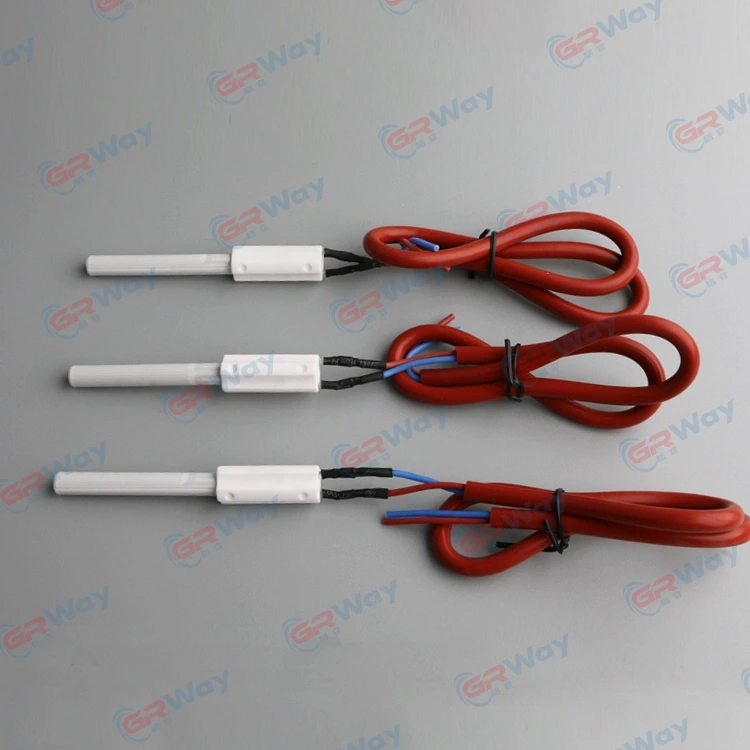
What is the installation process of the ceramic particle igniter?
The installation process of a ceramic pellet igniter may vary depending on the specific model and manufacturer, but generally the following basic steps can be followed for installation. Please note that the following steps are for reference only. Please follow the instructions provided by the product manual or manufacturer for specific installation.
Ceramic Pellet Ignitor Installation Steps
Preparation:
Make sure all necessary installation tools and materials are ready, such as screwdrivers, wrenches, wires, etc.
Turn off the gas or power supply to ensure safety during the installation process.
Disassemble the old igniter (if applicable):
If you are replacing an old igniter, you first need to disassemble the old igniter according to the instructions or manufacturer's instructions.
Remove the wires, screws, and other parts connected to the old igniter, and handle them carefully to prevent damage to other parts.
Determine the installation location:
Determine the installation location of the ceramic pellet igniter according to the product manual or manufacturer's recommendations.
Make sure the installation location meets safety requirements and is convenient for future maintenance and replacement.
Fix the igniter:
Use appropriate screws and fixings to fix the ceramic pellet igniter in the predetermined position.
Make sure the igniter is firmly fixed and will not fall off due to vibration or movement.
Connect the wires:
Connect the wires of the igniter to the gas valve or power controller.
Pay attention to the connection method and color matching of the wires to ensure that the connection is correct.
Wrap the exposed wire parts with insulating tape or insulating sleeves to prevent short circuits or electric shock.
Test the igniter:
After the installation is completed, turn on the gas or power supply and test whether the igniter is working properly.
Observe whether the igniter can produce sparks and ignite the fuel.
If the igniter does not work properly, check whether there are problems with the wire connection, gas supply or power supply, and troubleshoot according to the instructions or manufacturer's guidance.
Complete the installation:
If the igniter tests normal, it means that the installation was successful.
Clean up the installation site and keep the extra tools and materials properly.
It should be noted that due to the differences between different models and manufacturers of ceramic particle igniters, the specific installation steps and precautions may vary. During the installation process, be sure to read the product manual or the instructions provided by the manufacturer carefully and operate as required. If you encounter any problems or uncertainties, please consult us for help.


